

How to Make a Daisy Chain Bracelet With Beads
Not only are daisy chain rings quick and easy to create, they can be made in a variety of vibrant and fun colours, so they are completely customisable. This step by step tutorial demonstrates how to create a ring, but once you've mastered the pattern you can apply it to creating bracelets, necklaces and even more.
Step 1: Cut your elastic cord
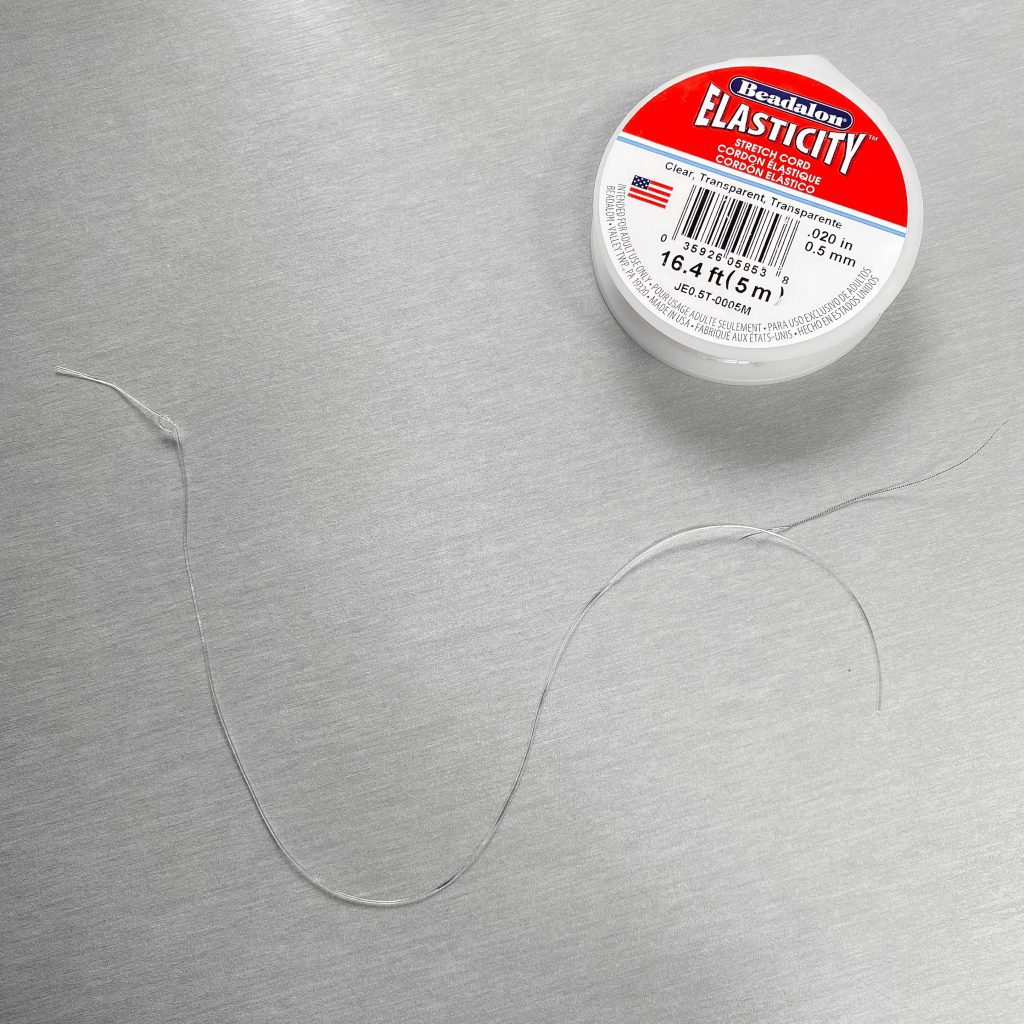
Firstly, you will need to cut your elastic cord to the appropriate length. You will need more cord than you think, so using about a forearm length of cord is a good start. If you have any excess for your ring size you can always cut this off later on. Once you have done this, create a few knots towards the end of the cord to ensure the beads do not fall off whilst you are threading and thread your beading needle through the other end of the cord.
Step 2: Choose your colours
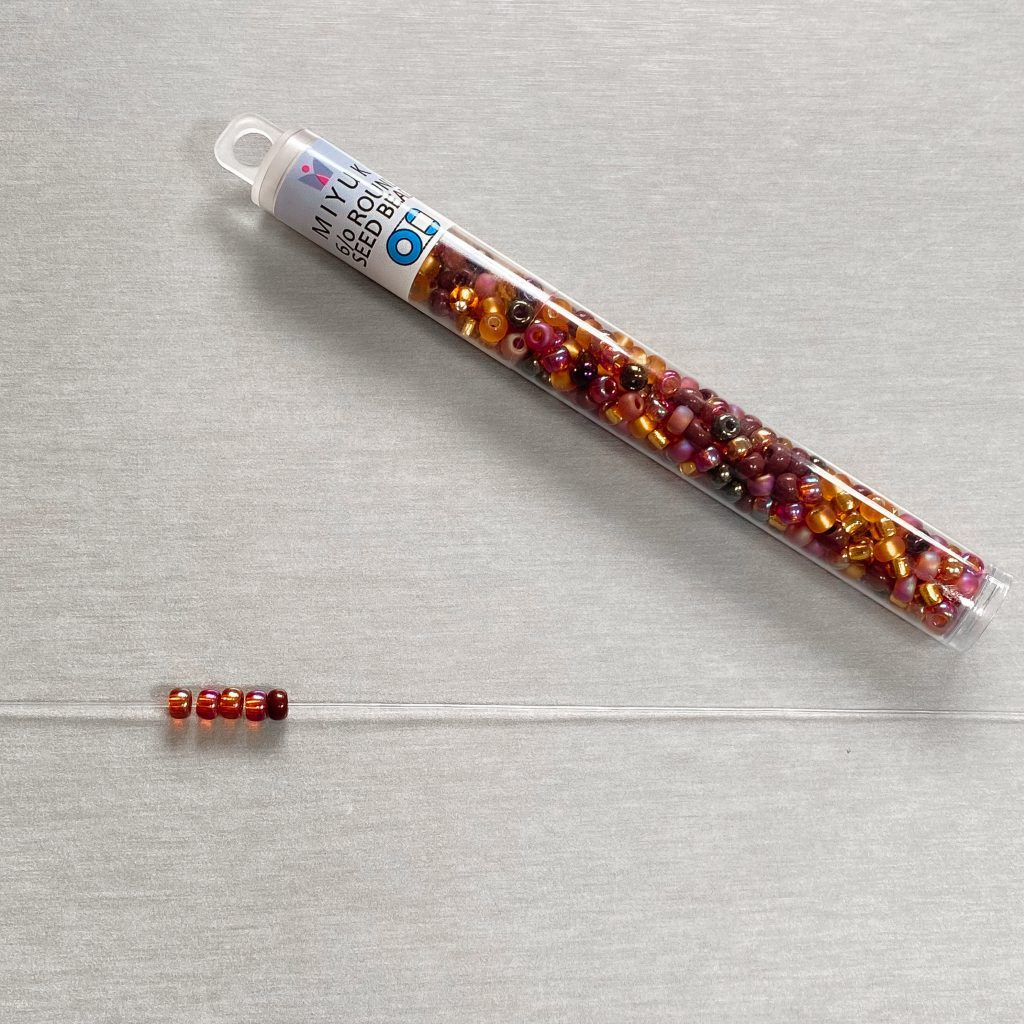
After securing a knot, you will want to choose the colours of your 'petals' and thread 4 of them onto the cord. Once you have done this, choose a colour for the centre of your flower. Note: for the most realistic looking flowers, it's best to choose a centre colour that contrasts nicely with the colour of your petals. For instance, I have chosen to use a dark centre with pinkish petals.
Step 3: Form your flowers
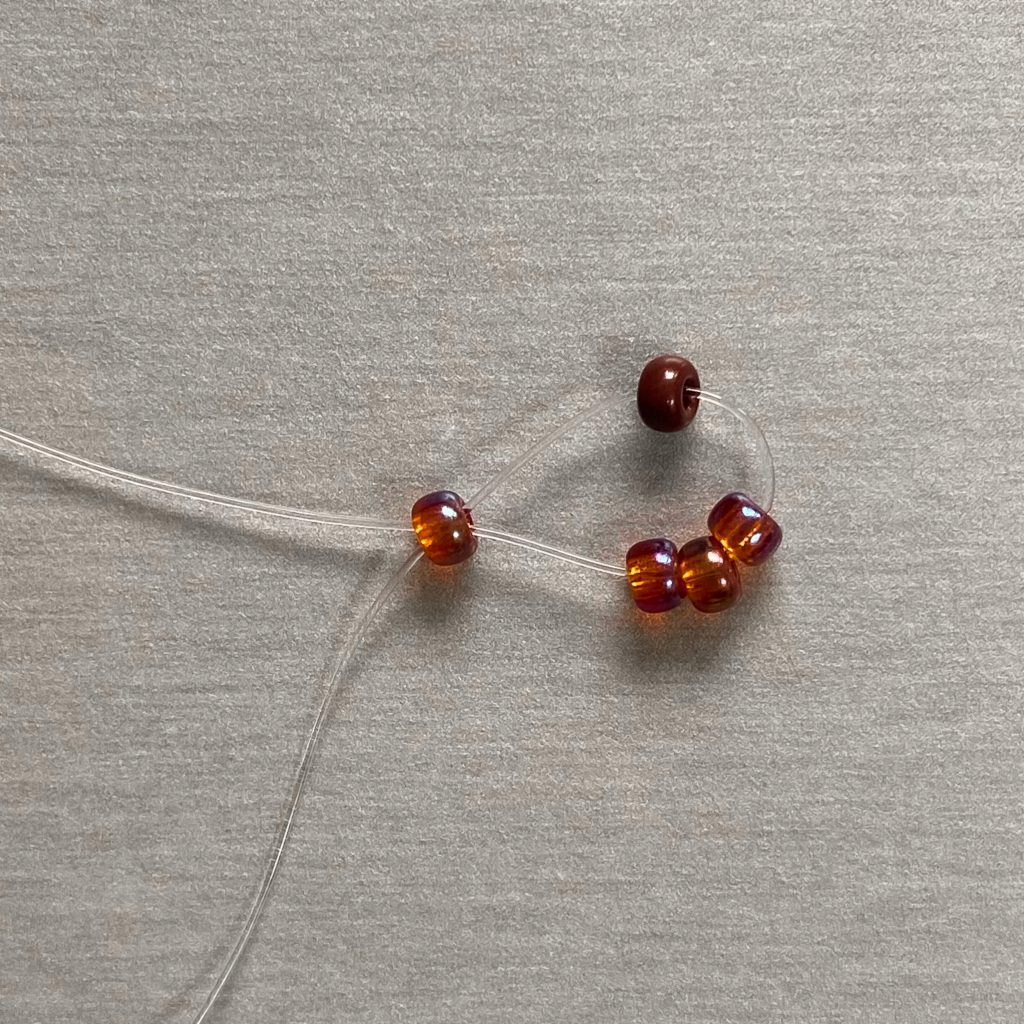
At this point, you should have a total of 5 beads on your cord, so you can now start forming the circular shape of the flowers. To do this, you will need to loop your beading needle over and bring the entirety of your cord back through the very first bead you have placed on your cord. It should form a semicircle with your centre colour directly in the middle. Don't worry if the cord appears loose at first – as you add more beads it'll become more secure!
Step 4: Add more beads

Next, add 2 more beads (which are the same colour as your previous petals) onto the cord. Then, take your needle and thread it through the last petal bead, which should be on the right of your centre coloured bead and in the opposite direction of the start of the ring. Pull the cord firmly to form your first daisy and adjust any other beads as you tighten to ensure they're evenly distributed.
Step 5: Add a spacer bead
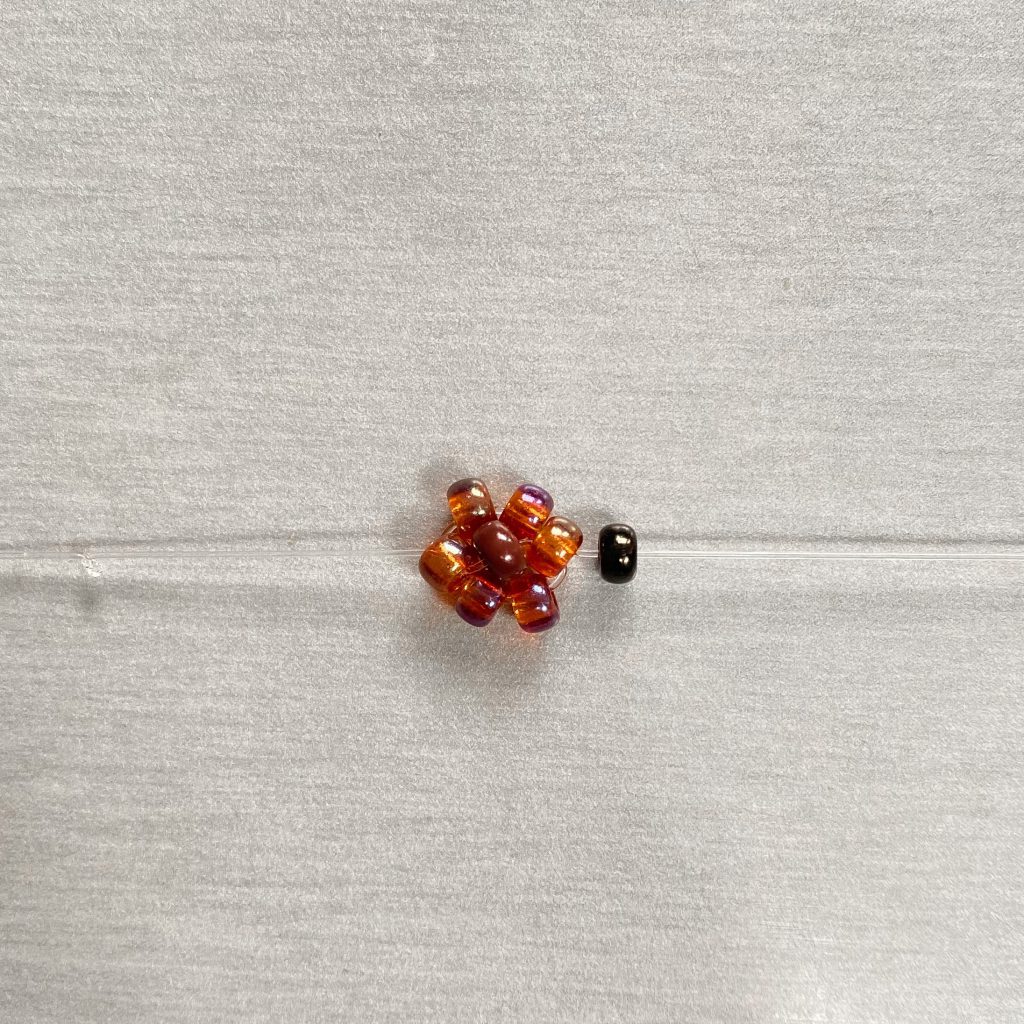
Now that you've created your first daisy, add a different coloured bead from your seed bead mix to act as a spacer bead between the daisies. This step is optional, however, if you want a clear distinction between the flowers or you'd like to add more colour, it is best to add a spacer bead.
Step 6: Repeat the previous steps
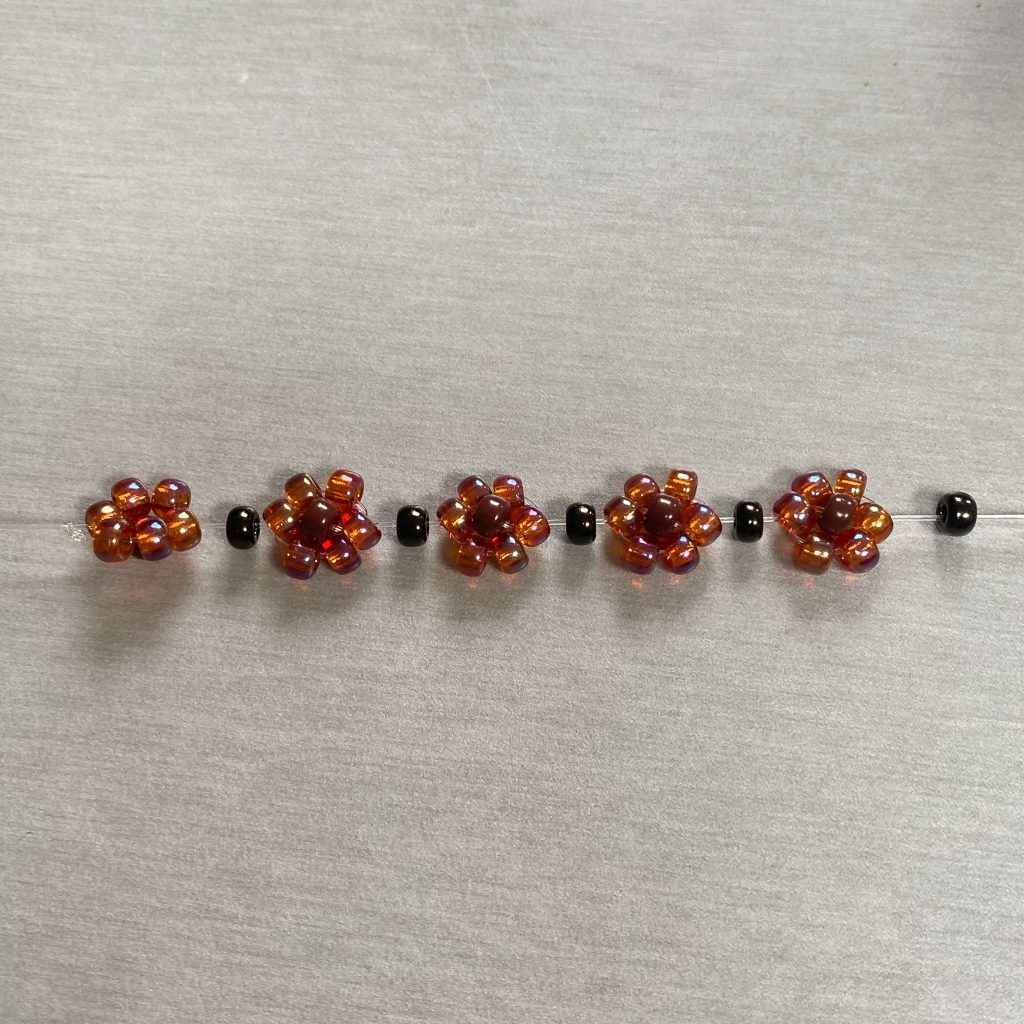
Following this, continue your daisy chain pattern from the previous steps, whilst adding a spacer bead in between. To ensure the ring fits you specifically, you'll want to wrap the cord around your finger until both ends meet comfortably.
Step 7: Join the ends
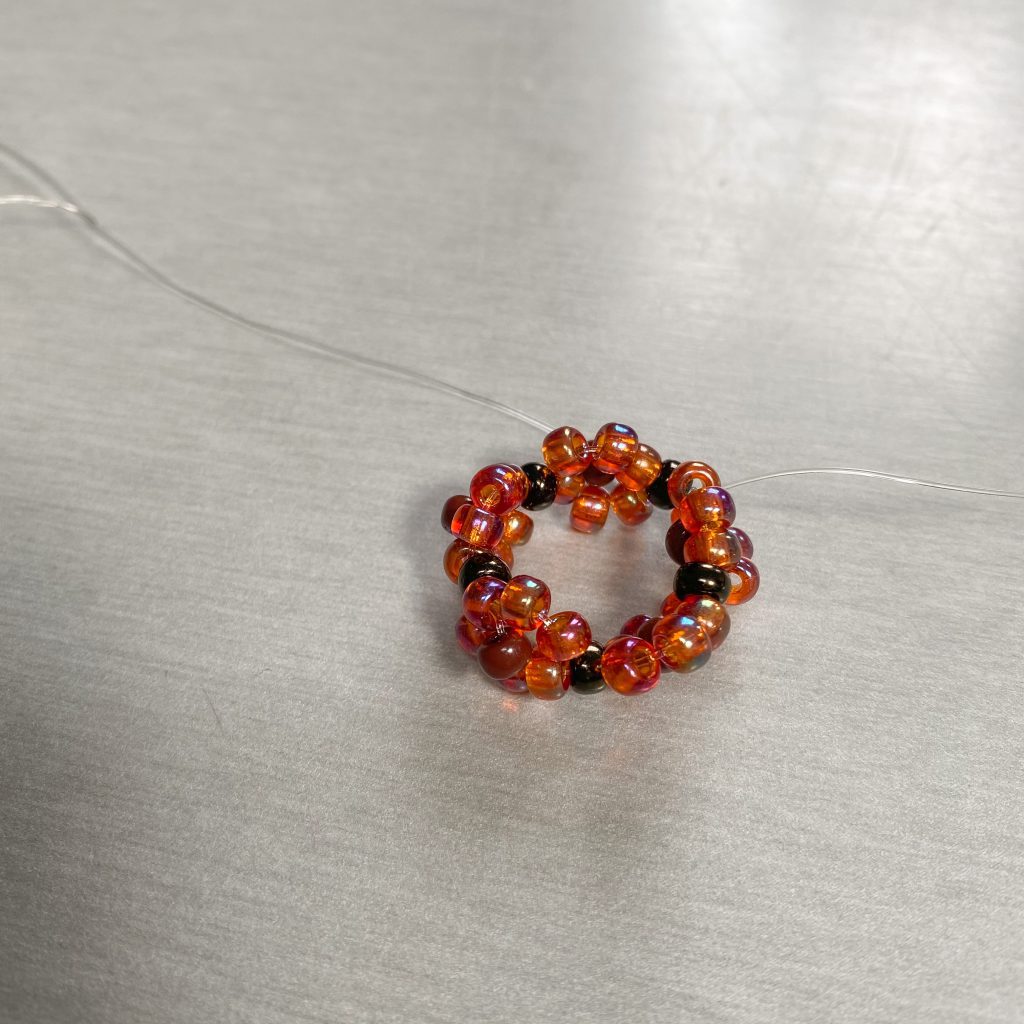
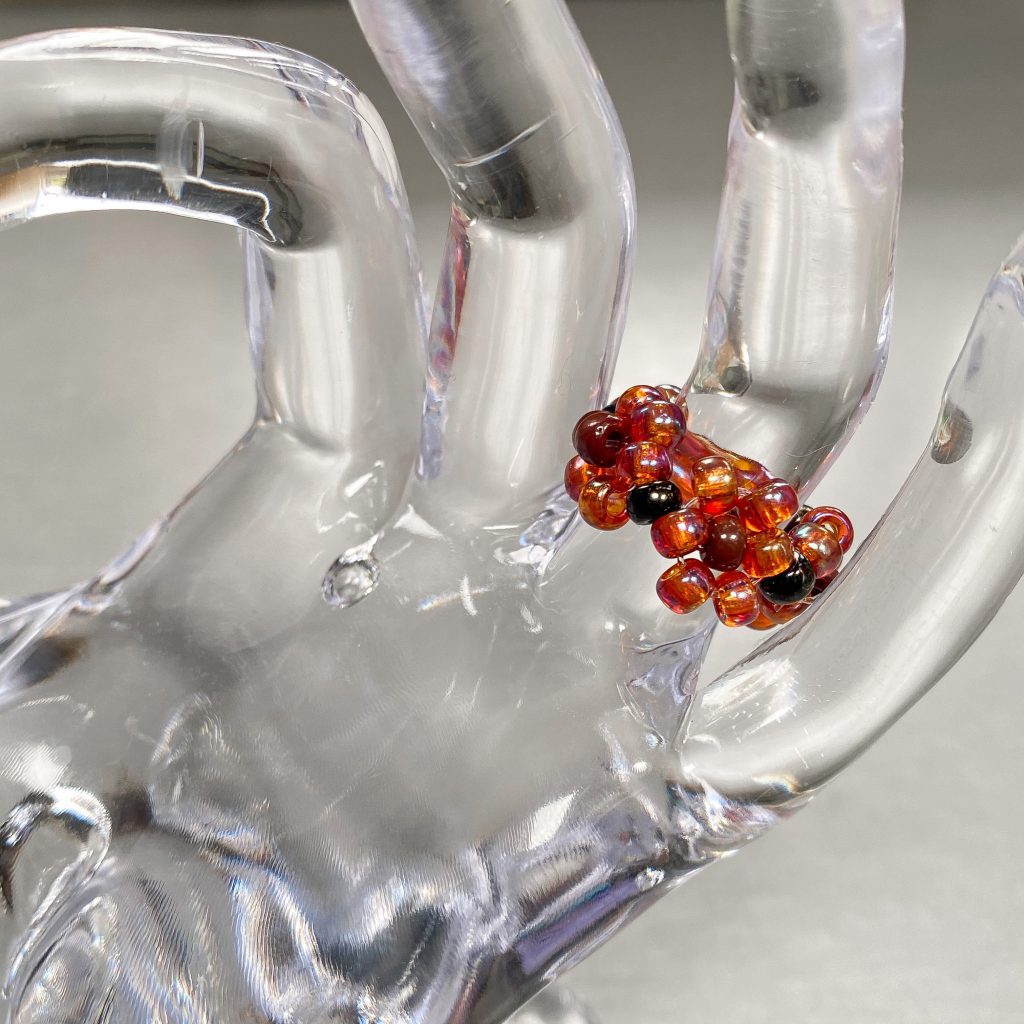
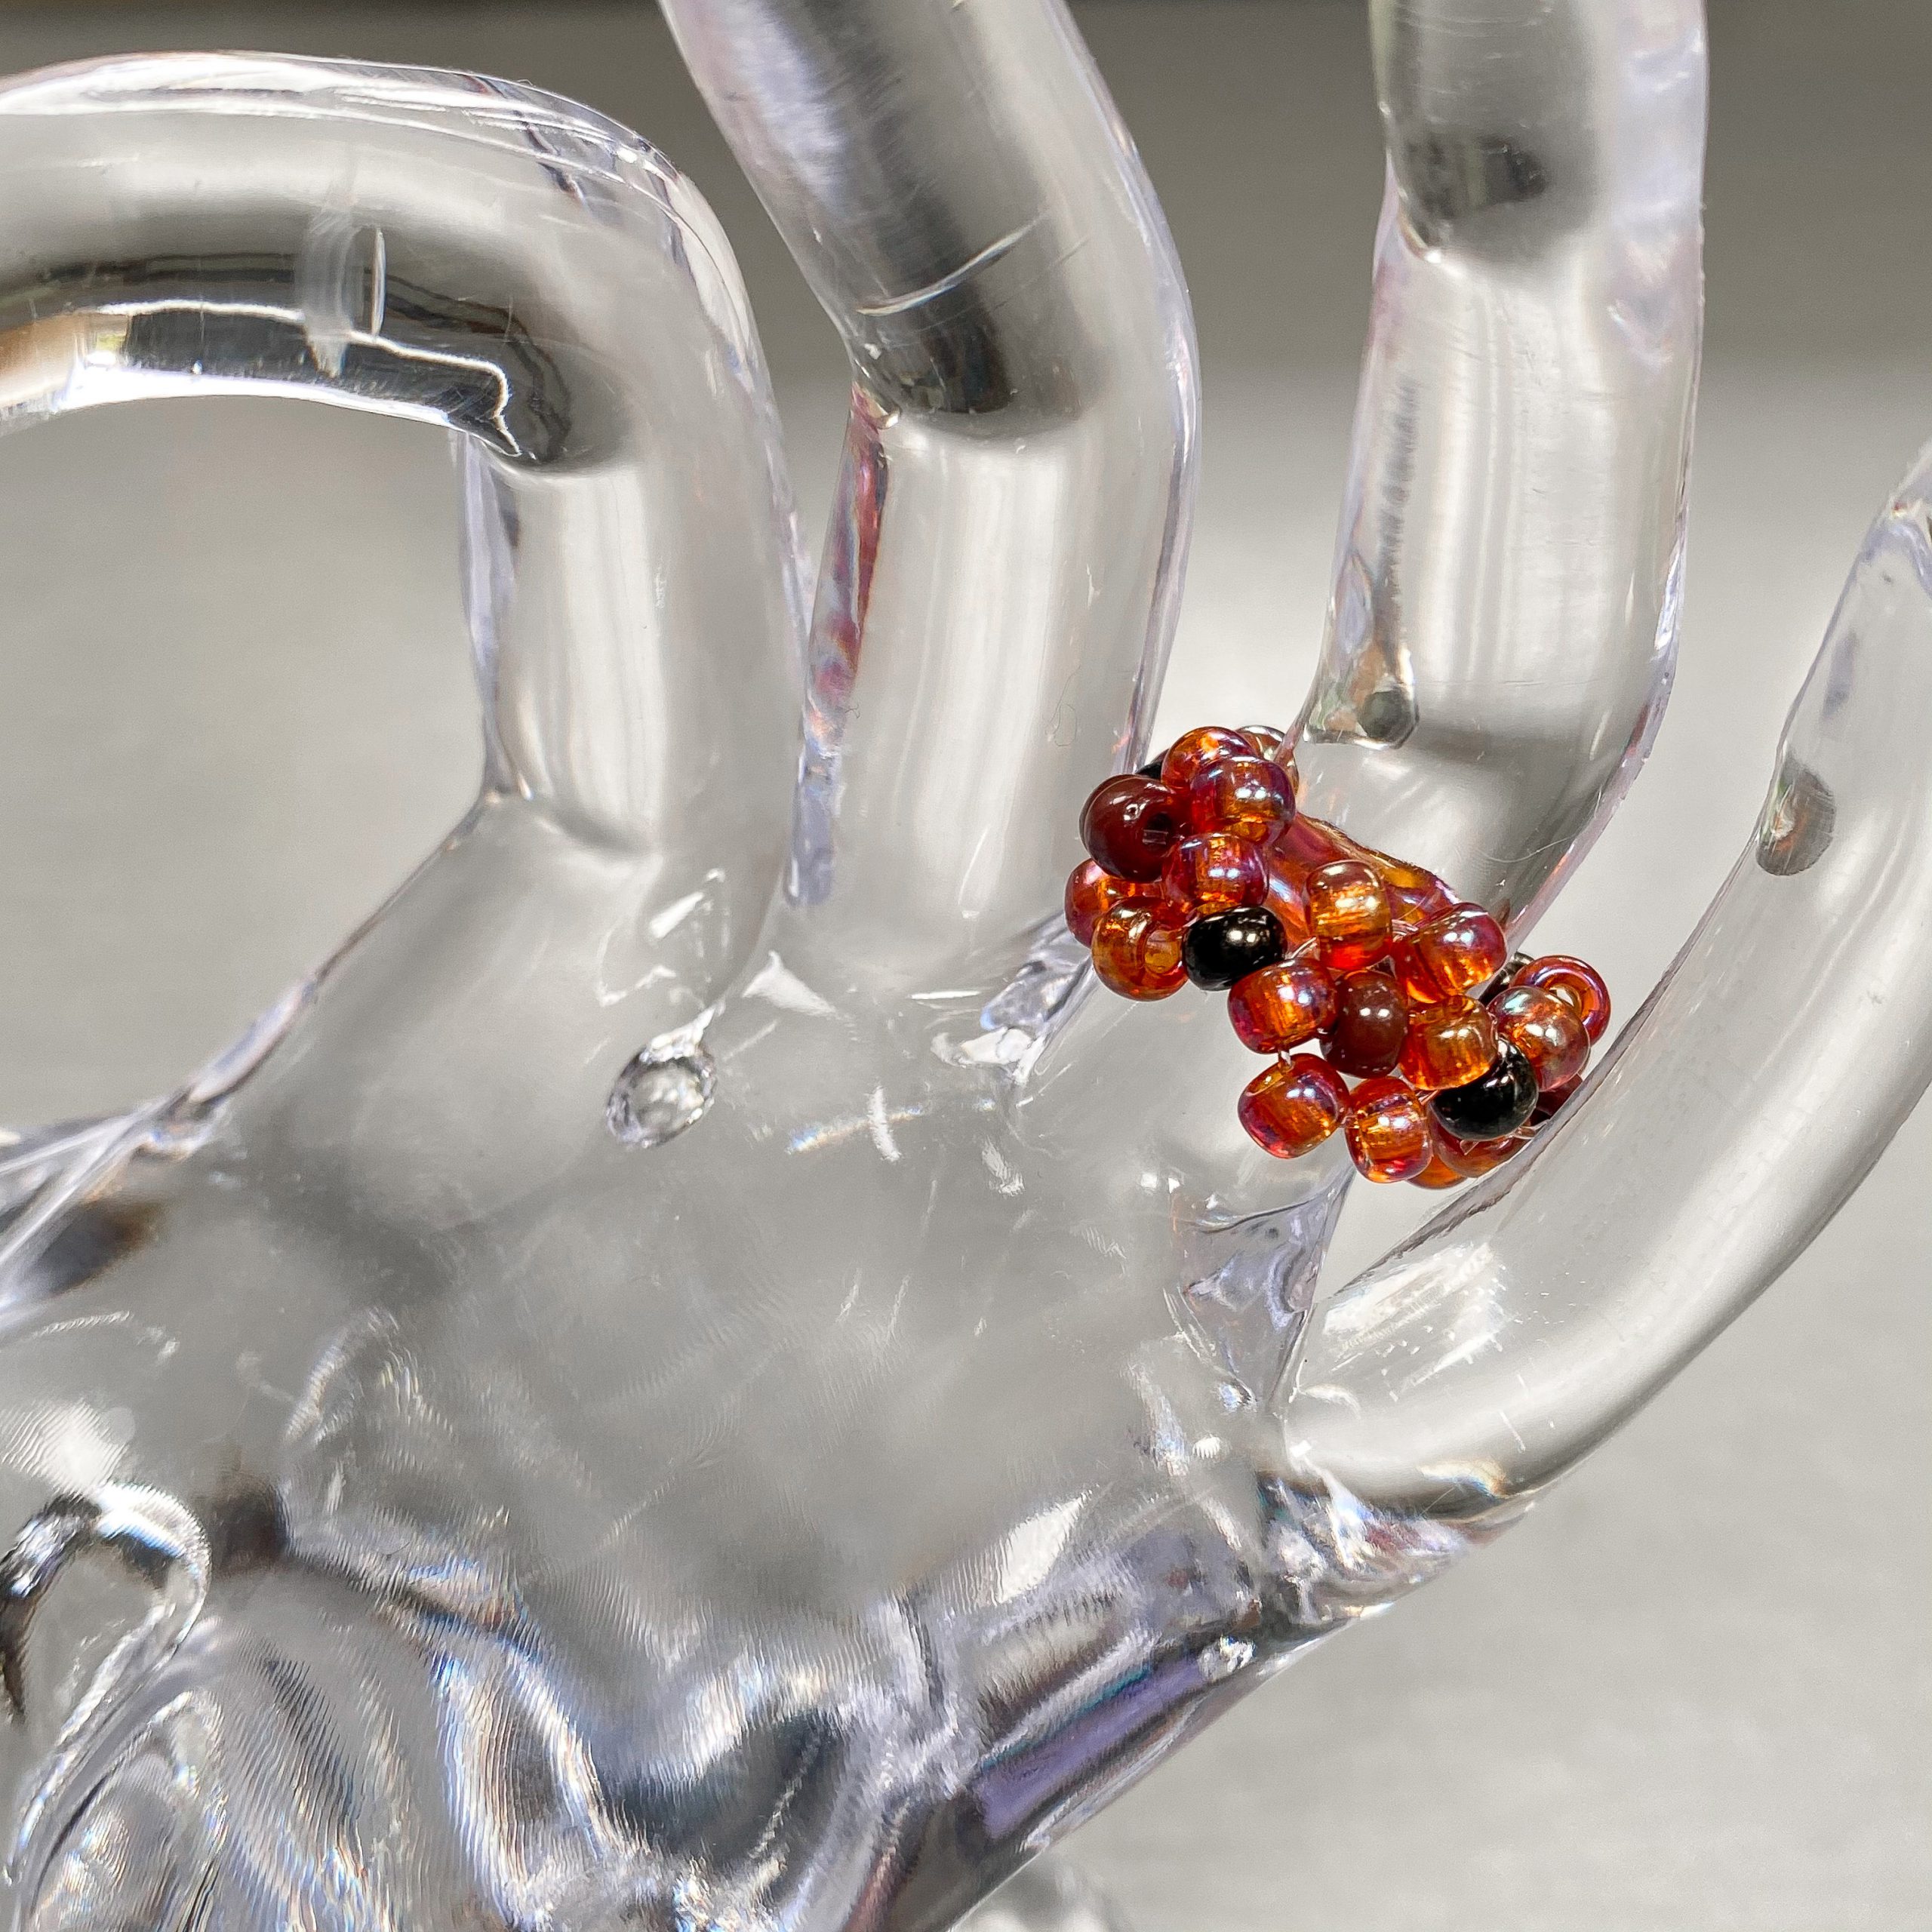
Finally, once you've created enough flowers to fit your ring size, it is time to finish! Join both ends of the cord by knotting them securely together a few times, which should in turn create your ring shape. Cut any excess off and enjoy your beautiful daisy chain seed bead ring!
We want to see what you have been making! Share your creations with us on social media, tagging in Cooksongold on Facebook, Twitter and Instagram.
Save this for later
Written by
Ush Sanghar
A jewellery maker that particularly loves to create trendy and quirky items made of beads and clay
How to Make a Daisy Chain Bracelet With Beads
Source: https://www.cooksongold.com/blog/project/15-minute-make-daisy-chain-ring/
0 Response to "How to Make a Daisy Chain Bracelet With Beads"
Post a Comment